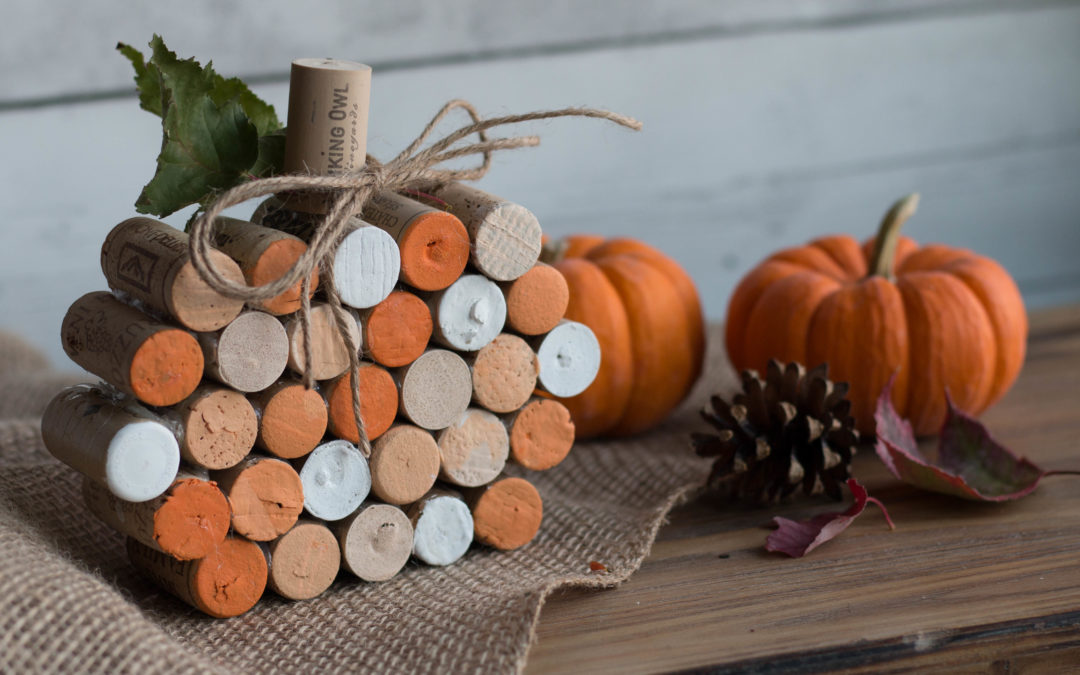
We are in the midst of fall and with that comes apple cider, autumn leaves and you can probably guess it…pumpkins! What better way to repurpose those wine corks that you may have lying around then by making a decorative pumpkin that is perfect for the season! Follow these easy steps below and make as many pumpkins as you like of all shapes and sizes!
What you will need:
- 30 Wine Corks
- Twine
- Leaf (optional)
- Hot Glue Gun
- Paint Brush
- White Paint
- Orange Paint
- Paper Plate
Instructions:
- Pick out 30 wine corks that are all similar size. Depending on your desired pumpkin size, you can always incorporate more or less.
- Make different shades of orange by mixing the white and orange paints together on a paper plate.
- Paint both ends of the a wine cork the same shade of orange or white, then continue to do so for all of the remaining corks. Lay the corks flat on each of their sides on a paper towel so both ends can dry completely.
- Once dried, plug in your hot glue gun and choose 5 corks to start constructing the pumpkin by beginning at the bottom. Make sure to rotate the colors so there are different shades throughout the pumpkin.
- Glue one side of the cork and stick another cork to it. Set both corks down on paper plate or paper towel to let the glue cool, then repeat with the remaining 3 corks to finish the bottom.
- Once the bottom is complete, build the next layers individually by gluing 6 corks together for the second layer, 7 corks together for the middle layer, 6 corks together for the fourth layer and then 5 corks together for the top. After each layer is completely dried, glue the layers together accordingly.
- Finish the pumpkin by gluing the last cork in a upright position on the top middle cork so it resembles the pumpkin stalk. You then can tie a piece of twine into a bow around that cork and place a fake or real leaf in the twine if desired.