Are you looking for a unique way to dye eggs for Easter with the kids this year? Try this fun DIY craft that will ensure they have a blast!
**EDIT: A lot of our patrons have suggested using Cool Whip instead of shaving cream so it can be eaten afterward and also Cool Whip also doesn’t affect the taste of the eggs!
MATERIALS:
- Shaving cream (make sure it is cream, not gel) or Cool Whip
- Glass pan and bowl
- Food coloring or gel
- Toothpicks
- Plastic gloves
- Hard-boiled eggs
- White vinegar
- Plastic tongs (optional)
- Paper towels
DIRECTIONS:
- Place your hard-boiled eggs into white vinegar for around 30 minutes. This will make your color last longer.
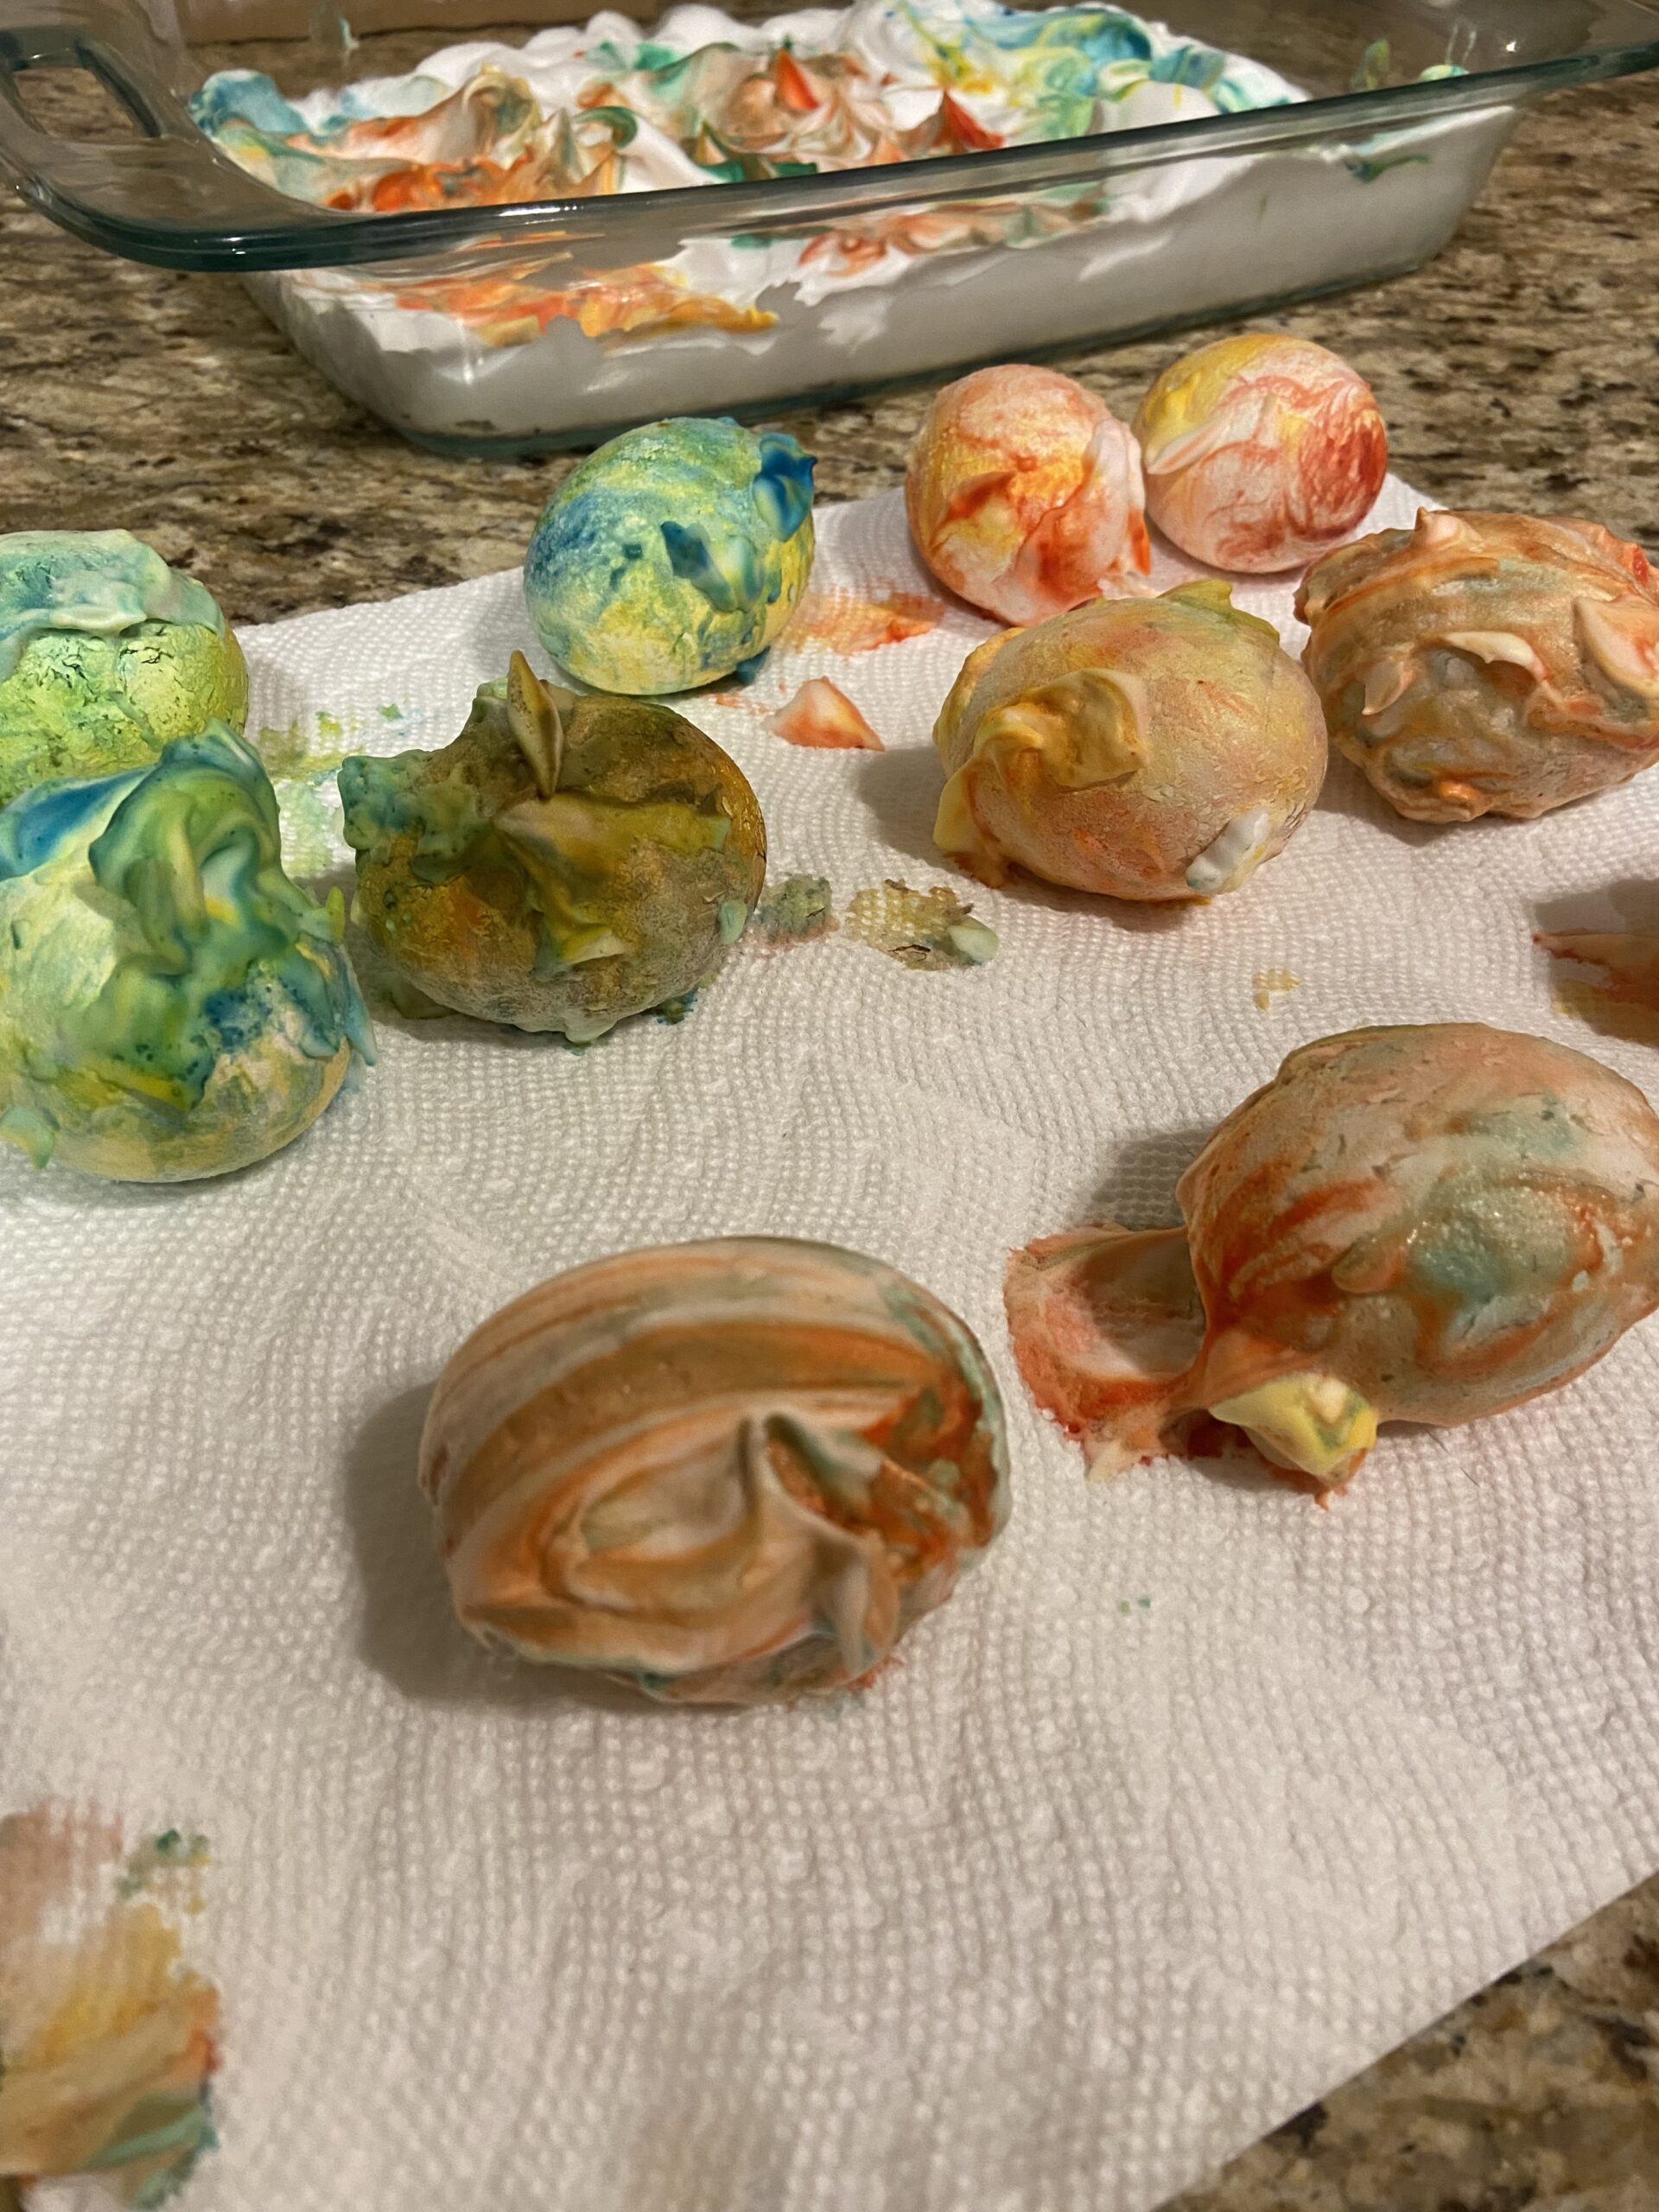
- Put a thick layer of shaving cream or Cool Whip onto the bottom of a glass pan or bowl and then place your different food colorings/gels around the shaving cream. Use your toothpicks to swirl the colors around to your liking.
- This is the perfect time to put on plastic gloves so that the food coloring does not stain your hands. Roll the eggs around in the shaving cream and let them sit there for a few minutes.
- Place the eggs onto a paper towel and let them sit for another 40-60 minutes. This will help the color set into the eggs.
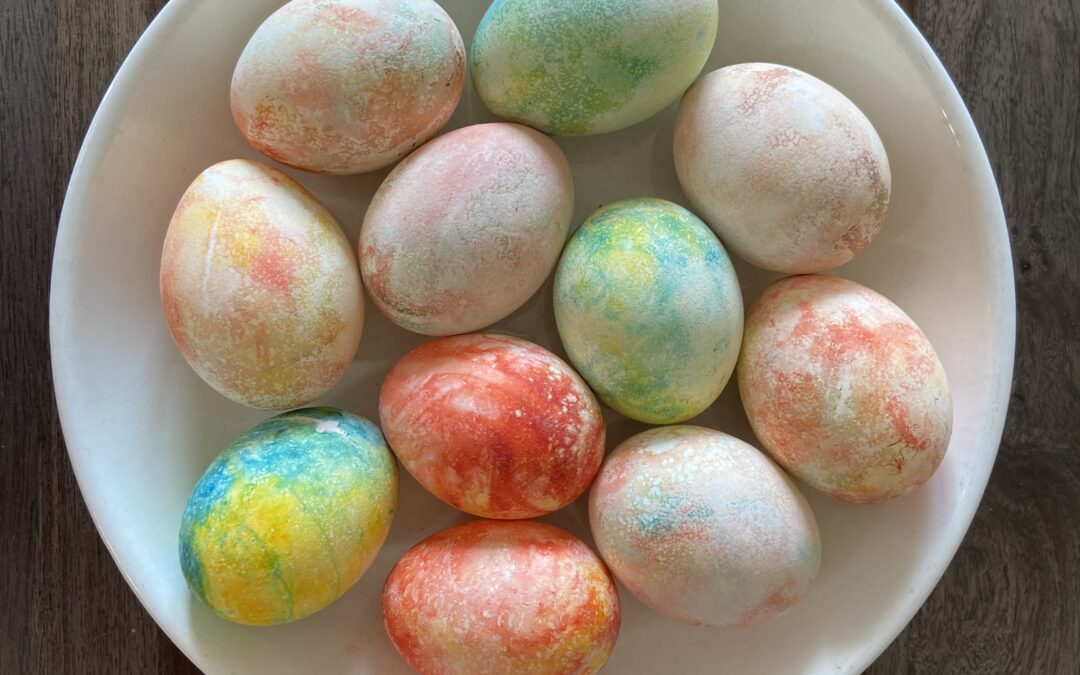
- Fill up a bowl full of water and gently wash the shaving cream or Cool Whip off the eggs. Use a paper towel to pat the eggs dry.
- That’s it! Now you can enjoy beautifully decorated Easter eggs.