Blog

DIY Valentine’s Day Envelope Garland
Valentine’s Day is the perfect time to add a little extra charm to your home. This DIY Valentine’s Day envelope garland is a simple and affordable way to decorate for the holiday while adding a cozy, handmade touch. Whether displayed along a table, mantel, or shelf,...
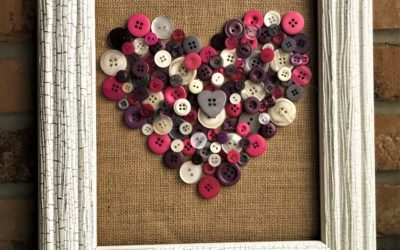
DIY Button Heart Décor
Fill your home with some extra love this Valentine's Day by making your own button heart frame! This DIY is so easy to make and would look cute no matter what room you put it in your house. Just a few, short steps and you’ll have yourself some new holiday décor....

Holiday Vase Decor
Are you wanting a simple, yet festive way to decorate your tablescape this holiday season? Then all you need is just a few supplies to make this easy ornament vase! What You Will Need: Vase (we chose to use two wider ones) Different Sized Ball-Shaped Ornaments Wired...

Machine Shed Pecan Pie
We are heading straight into the holiday season - which means pie season is upon us! This classic pecan pie is the perfect dessert to serve at any holiday gathering this year. You can also check out our blogs from last year, we shared our Spicy Sweet Potato Pie and...

Caramel Apple Bacon Pork Loin
Sadly, Pork Month is coming to an end here at Machine Shed so we hope that you were able to stop in sometime this month to enjoy our Porktober features. If you missed them, you can check out our blogs from last year's features for the Pork Pioneer recipe. This year we...
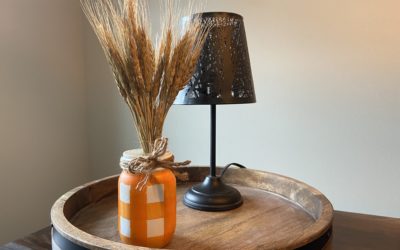
DIY Fall Vase
Looking for a quick, fun, and easy DIY project for your fall home decor? Then try making your very own mason jar vase - all you need are these simple things listed below and then you are ready to start! What You Will Need: Two Acrylic Paints (we chose to use white and...
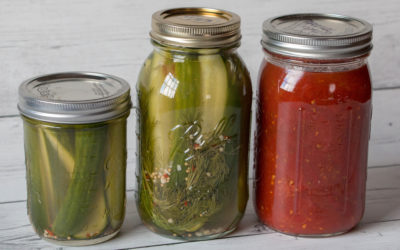
Recipes For Your Last Summer Harvest
It is officially autumn, which means crisp cool air, leaves will start changing their colors and of course, garden harvest is coming to an end. To save the very last of your fresh produce, we have shared some more of our favorite recipes below. To learn all you need...
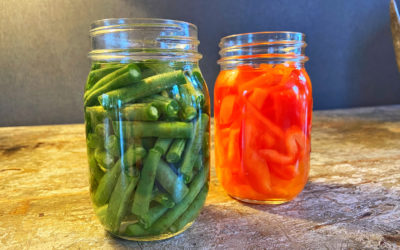
Cucumbers & Tomatoes & Onions, OH MY!
It's that time of year when summer is coming to an end and you have to harvest the remaining produce in your garden. You might be asking yourself though, what should I do with all of what is left? Well, we are here to give you a few recipes along with some tips &...
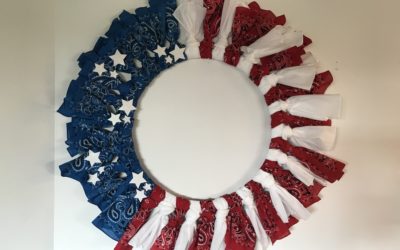
Patriotic Bandana Wreath
It is almost July which means we will all be celebrating our independence in just a matter of days by wearing our red, white and blue! But have you thought about how you will be decorating your house in those patriotic colors as well? If not, try out this quick and...
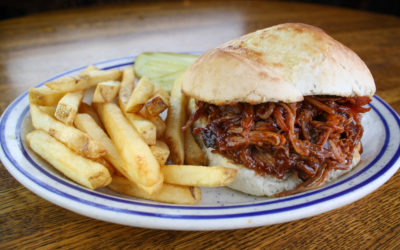
Dang! Root Beer Braised Pork Sandwich
When we think of summer we think of sunny days, family gatherings and of course a BBQ with good food! Which is why our Dang! Root Beer Braised Pork Sandwiches come straight to mind. We know that your guests will want to get their hands on this sandwich in your...
© 2026 Machine Shed LLC